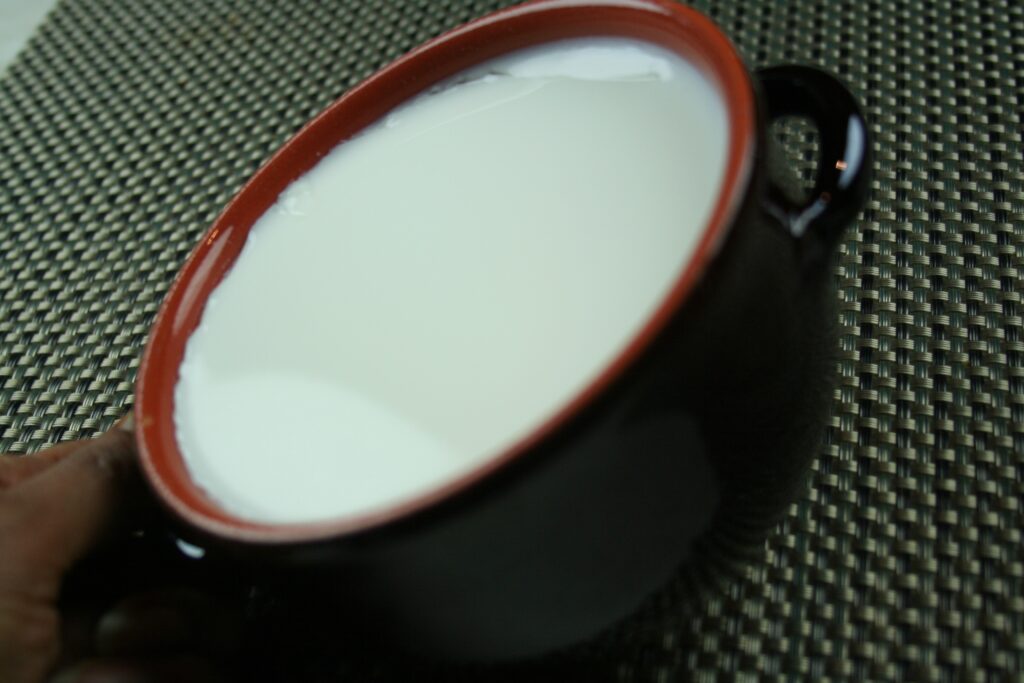
Homemade Yogurt Recipe (with A2 Milk)
Creamy, gut-friendly, and easy to make—this homemade yogurt uses A2 milk for better digestion and a foolproof fermentation method.
There’s something deeply satisfying about making your own yogurt at home. This recipe, rooted in traditional methods and enhanced with a few modern tricks, yields creamy, flavorful yogurt that’s full of beneficial probiotics. Using A2 milk makes it easier to digest for many people and ideal for those seeking a more gut-friendly dairy option. Whether you’re a seasoned home cook or trying this for the first time, this guide will walk you through each step to ensure perfect yogurt every time.
Why This Recipe Works
- A2 Milk for Better Digestibility: A2 milk lacks the A1 beta-casein protein, which some people find hard to digest. It makes this yogurt gentler on the gut.
- Boiling Enhances Texture: Heating the milk until frothy helps denature the proteins, creating a thicker, smoother texture.
- Preheating the Container Ensures a Good Set: Introducing warm milk into a cold container can disrupt fermentation. Preheating maintains the ideal environment for the cultures to thrive.
- Controlled Fermentation Temperature: Using an oven with the light on or preheating in winter ensures the milk stays within the ideal 100–110°F range needed for yogurt bacteria to activate.
Ingredients
- 1 liter (or quart) of A2 whole milk
- 1–2 tablespoons of plain yogurt with live active cultures (as a starter)
Step-by-Step Instructions
1. Boil the Milk
Pour the A2 milk into a heavy-bottomed saucepan and bring it to a boil over medium heat. Watch closely. When you see froth forming on top and the milk rises, turn off the heat. This typically happens around 180–200°F.
2. Cool the Milk
Allow the milk to cool down to about 85–100°F. You can test this with a kitchen thermometer, or dip a clean finger—it should feel warm but not hot.
3. Preheat the Fermenting Container
Before pouring the milk into the container, preheat it using one of these methods:
- Place it in a warm oven for 5–10 minutes
- Use a dehydrator set to 100°F
4. Add the Culture
Pour in the cooled milk and add 1–2 tablespoons of plain yogurt. Stir gently to mix.
5. Ferment
Place the container in a warm place to ferment:
- Option 1: In the oven with just the light on (ideal for maintaining warmth)
- Option 2 (Winter): Preheat the oven to 160–200°F, turn it off, then place the container inside and shut the door.
Let it sit undisturbed for 6–12 hours, depending on how tangy you like your yogurt.
6. Refrigerate
Once set, transfer the yogurt to the fridge. It will continue to thicken as it cools. Store for up to 2 weeks.
Ingredient Notes
- A2 Milk: This is from cows that produce only A2 beta-casein protein. It’s known to be more tolerable for some individuals sensitive to regular milk.
- Starter Yogurt: Use plain yogurt with live active cultures. Avoid flavored or sweetened yogurts as starters.
- Containers: Use glass or stainless steel for best results; plastic can hold on to odors and interfere with fermentation.
Frequently Asked Questions
Q: Can I use this recipe with regular milk?
Yes, though the digestive benefits of A2 milk will not apply. The method remains the same.
Q: Why didn’t my yogurt set?
Possible reasons include:
- The milk was too hot or too cold when you added the culture.
- The container wasn’t warm.
- The ambient temperature was too low.
Q: Can I reuse my homemade yogurt as a starter?
Absolutely! Just reserve a few tablespoons from each batch to start the next one. Replace with fresh starter every 4–5 batches for best results.
Variations
- Instant Pot Yogurt: Use the “Yogurt” setting. After boiling and cooling the milk, mix in the starter, then incubate right in the pot for 8 hours.
- Non-Dairy Yogurt: Substitute with full-fat coconut milk or nut milk. Use a thickener like agar agar or tapioca starch if needed. Choose a non-dairy yogurt starter with probiotics.
- Buttermilk: Add water to your finished yogurt and blend to make traditional buttermilk. You can flavor it with cumin, ginger, or mint for a refreshing summer drink.
Pro Tips for Success
- Always use clean utensils and containers to avoid unwanted bacteria.
- Wrap the fermenting container in a towel for added insulation if your kitchen is cold.
- Don’t move or stir the yogurt during fermentation—it needs to stay still to set well.
- For thicker yogurt, strain it through cheesecloth after it’s done for a Greek-style texture.

